Ejercicio 0: Requisitos previos
Antes de empezar los ejercicios de Copilot CLI, tienes que dejarlo todo preparado. Crearás tu propia copia del repositorio Tailspin Toys y pondrás en marcha un codespace, cuyo terminal integrado usarás para instalar y ejecutar Copilot CLI en el siguiente ejercicio.
Configurar el repositorio del laboratorio
Para crear una copia del repositorio para el código que vas a crear, generarás una instancia a partir de la plantilla. La nueva instancia contendrá todos los archivos necesarios para el laboratorio y la usarás a medida que avances por los ejercicios.
-
En una nueva ventana del navegador, ve al repositorio de GitHub de este laboratorio:
https://github.com/github-samples/tailspin-toys. -
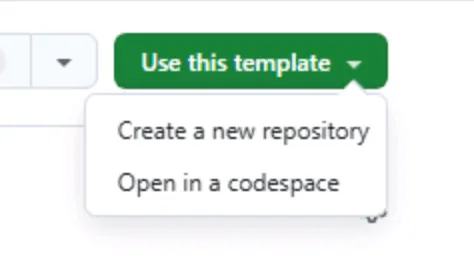
Crea tu propia copia del repositorio seleccionando el botón Use this template en la página del repositorio del laboratorio. Después, selecciona Create a new repository.
-
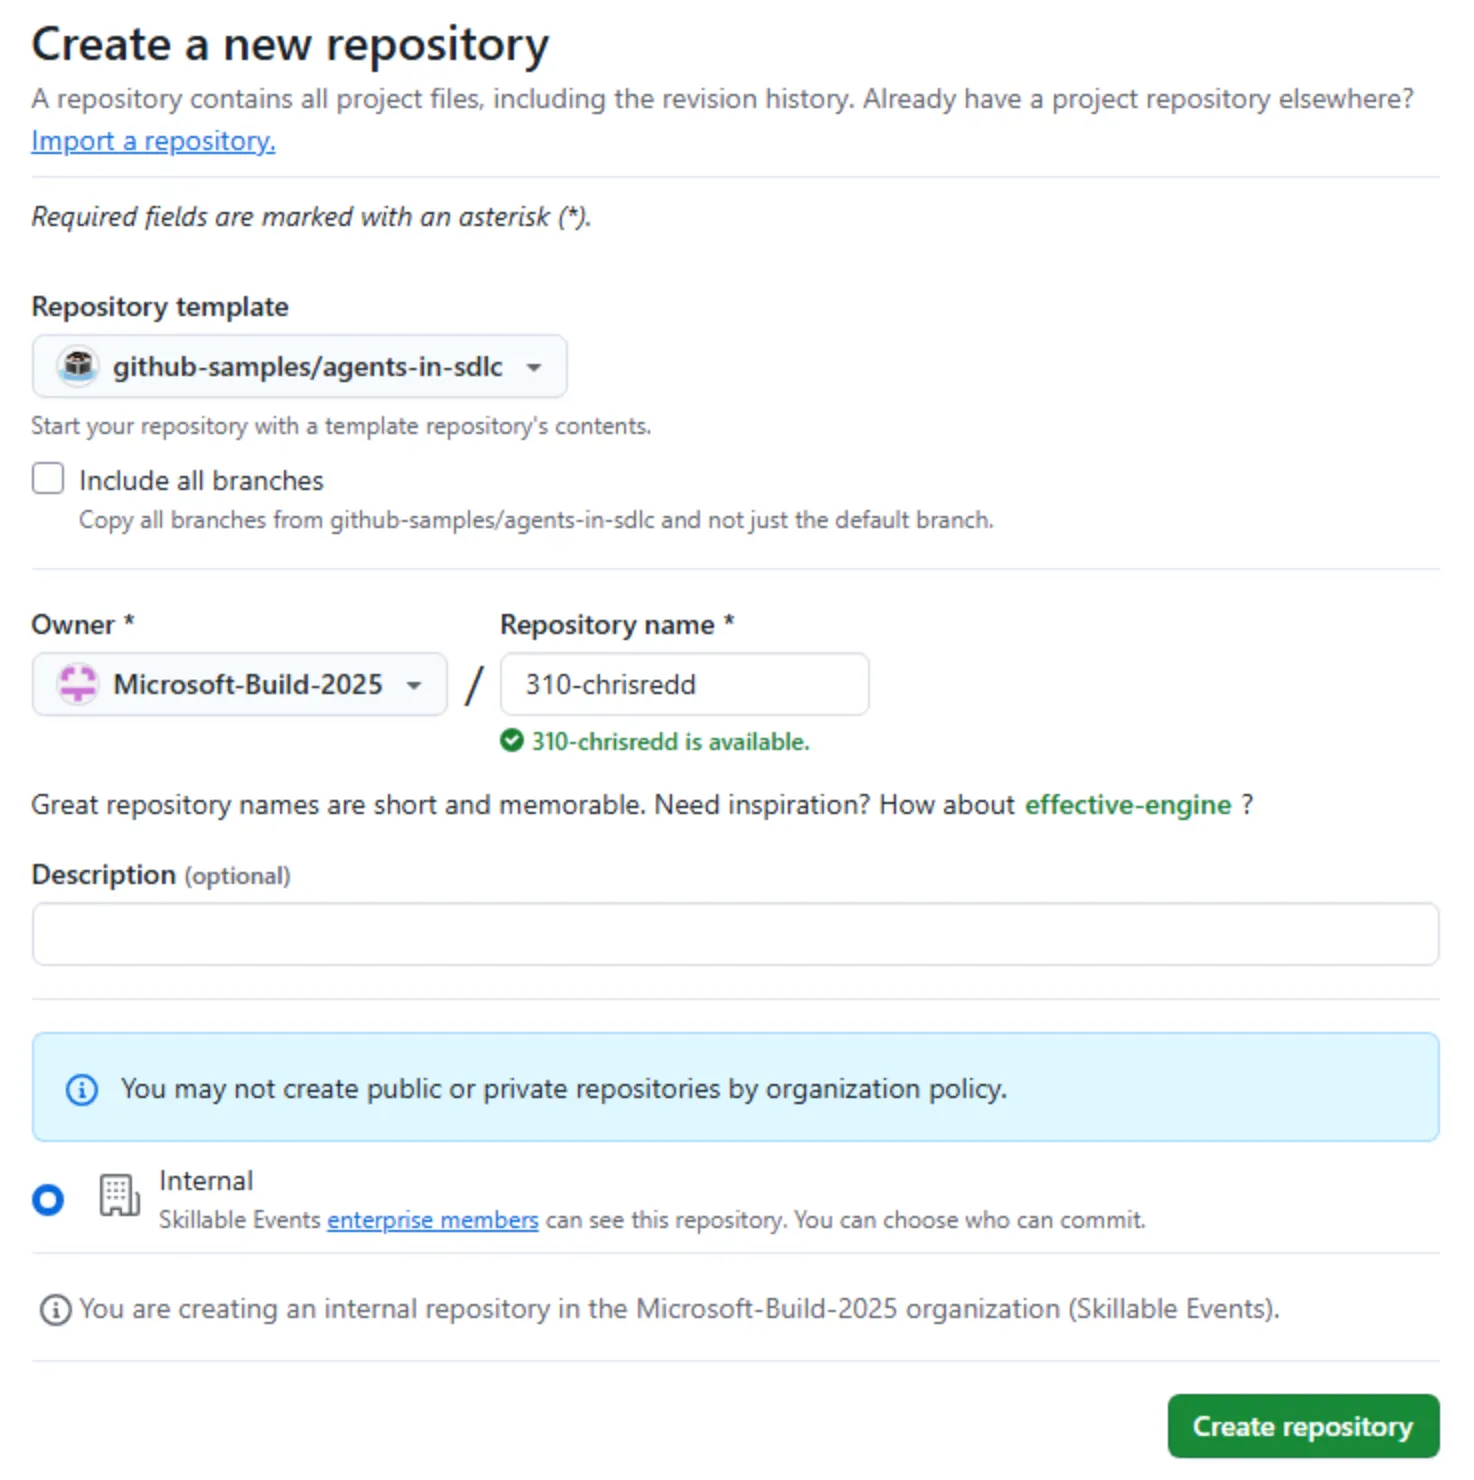
Si estás realizando el taller como parte de un evento dirigido por GitHub o Microsoft, sigue las instrucciones proporcionadas por el personal mentor. En caso contrario, puedes crear el nuevo repositorio en una organización en la que tengas acceso a GitHub Copilot.
-
Anota la ruta del repositorio que has creado (nombre-de-organización-o-usuario/nombre-del-repositorio), ya que la consultarás más adelante en el laboratorio.
Tu backlog está listo
Cuando creas tu repositorio a partir de la plantilla, se crea automáticamente un backlog de incidencias de GitHub para ti. Trabajarás con esas incidencias durante todo el taller; no tienes que crear ninguna por tu cuenta.
Crear un codespace
Ahora usarás un codespace para completar los ejercicios del laboratorio.
GitHub Codespaces es un entorno de desarrollo en la nube que te permite escribir, ejecutar y depurar código directamente en el navegador. Proporciona un IDE con todas las funciones y compatibilidad con varios lenguajes de programación, extensiones y herramientas.
-
Ve a tu repositorio recién creado.
-
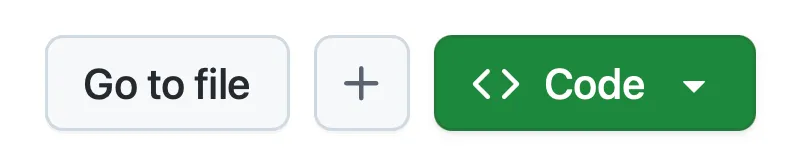
Selecciona el botón verde Code.
-
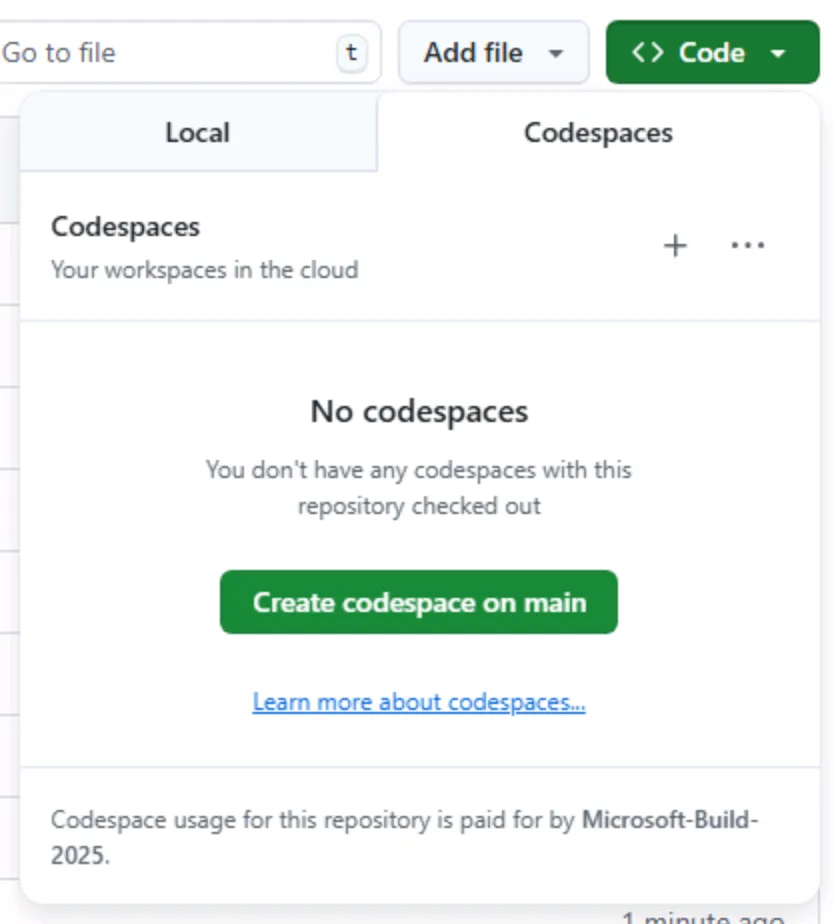
Selecciona la pestaña Codespaces y, a continuación, selecciona el botón + para crear un Codespace nuevo.
La creación del codespace tardará varios minutos, aunque sigue siendo mucho más rápida que instalar manualmente todos los servicios. Dicho esto, puedes aprovechar este tiempo para explorar otras funciones de GitHub Copilot, a las que prestaremos atención a continuación.
Volverás al codespace en un ejercicio posterior. De momento, déjalo abierto en una pestaña del navegador.
Este taller está diseñado para ejecutarse dentro de un codespace o de un contenedor de desarrollo local. Ambos garantizan que el entorno tenga instalados todos los requisitos previos necesarios para disfrutar de una experiencia fluida. Si prefieres ejecutarlo en local, abre el repositorio clonado en VS Code y selecciona Reopen in Container cuando se te solicite; VS Code compilará el mismo contenedor de desarrollo que usa el codespace.
Resumen
¡Enhorabuena! Has creado una copia del repositorio del laboratorio. También has iniciado el proceso de creación de tu codespace, que usarás cuando empieces a trabajar con Copilot CLI.
Siguiente paso
Vamos a instalar Copilot CLI y a autenticarlo con tu cuenta de GitHub. Continúa con el Ejercicio 1 - Instalar GitHub Copilot CLI.