Lesson 3 - Guiding Copilot with custom instructions
Context is key when working with generative AI. If a task needs to be done a particular way — or there’s background information Copilot should know — you want that context available. One of the most powerful tools for this is instruction files, which describe not just what code you want but how it should be structured. In this lesson you’ll add a documentation standard to your repository, and you’ll do it the way you’ll do most work from here on: starting from an issue in your backlog and letting the agent make the change.
In this lesson, you will:
- explore how repository instructions and path-scoped instruction files reach the agent.
- start a session from the instructions issue in your backlog.
- ask the agent to add a documentation standard to
.github/copilot-instructions.md. - review the change and merge it as a pull request.
Scenario
As any good dev shop, Tailspin Toys has a set of guidelines and requirements for development practices. These include:
- Documentation should be added to code in the form of TSDoc doc comments.
- Formatting should be documented and enforced through linting.
Through the use of instruction files you’ll ensure Copilot has the right information to perform the tasks in alignment with the practices highlighted.
Instruction files
Custom instructions allow you to provide context and preferences to Copilot, so that it can better understand your coding style and requirements. This is a powerful feature that can help you steer Copilot to get more relevant suggestions and code snippets. You can specify your preferred coding conventions, libraries, and even the types of comments you like to include in your code. You can create instructions for your entire repository, or for specific types of files for task-level context.
There are two types of instructions files:
.github/copilot-instructions.md, a single instruction file sent to Copilot for every request for the repository. This file should contain project-level information — context relevant for most chat or CLI requests sent to Copilot. This could include the tech stack being used, an overview of what’s being built, best practices, and other global guidance..github/instructions/*.instructions.mdfiles can be created for specific tasks or file types. You can use them to provide guidelines for particular languages (like TypeScript or Astro), or for tasks like creating a UI component or a new set of unit tests.
Copilot supports other standards to bring in instructions guidance through AGENTS.md, CLAUDE.md and GEMINI.md, allowing you to ensure Copilot always has the right context.
Best practices for managing instructions files
A full conversation about creating instructions files is beyond the scope of the workshop. However, the examples provided in the sample project show a representative approach. At a high level:
- Keep instructions in
copilot-instructions.mdfocused on project-level guidance, such as a description of what’s being built, the structure of the project, and global coding standards. - Use
*.instructions.mdfiles to provide specific instructions for file types (unit tests, Astro components, the data layer), or for specific tasks. - Use natural language. Keep guidance clear. Provide examples of how code should (and shouldn’t) look.
There isn’t one specific way to create instructions files, just as there isn’t one specific way to use AI. You will find through experimentation what works best for your project.
Every project using GitHub Copilot should have a robust collection of instruction files. As you explore the ones in this project, you may notice there are instructions files for numerous types of code files.
Looking for templates or a starting point? Explore awesome-copilot, a repository full of instruction files, custom agents, and other resources.
Explore the custom instructions files in this project
Take a moment to read the instruction files this repository ships with — there’s one core copilot-instructions.md and a collection of *.instructions.md files for various tasks. Open these in your editor or the GitHub web UI.
-
If the review panel is not already visible, open it by selecting Toggle review panel in the upper right.
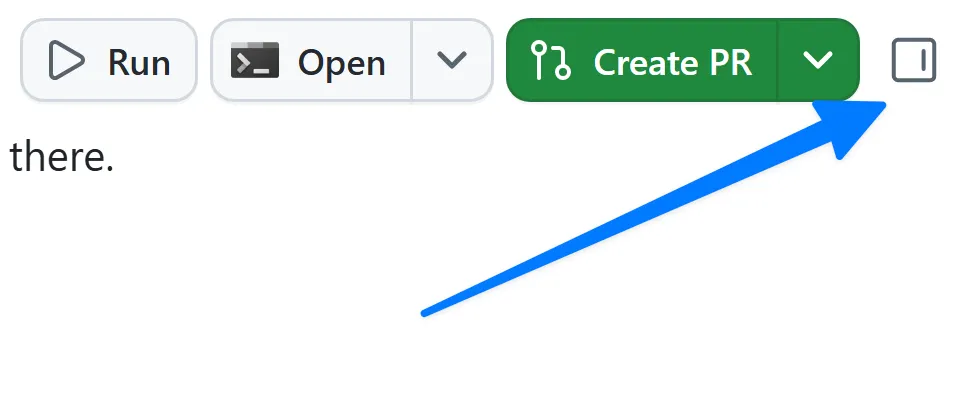
-
Select the + to add a new item to the review panel.
-
Select File.
-
Search for
copilot-instructions.md. -
Select
copilot-instructions.mdfrom the list of files to open it. -
Explore the file, noting the brief description of the project plus sections such as Agent notes, Code standards, Scripts, and Repository Structure. Under Code standards, note the nested GitHub Actions Workflows guidance. These are applicable to any interactions you’d have with Copilot.
-
Select Show folder view to open the folder navigator.
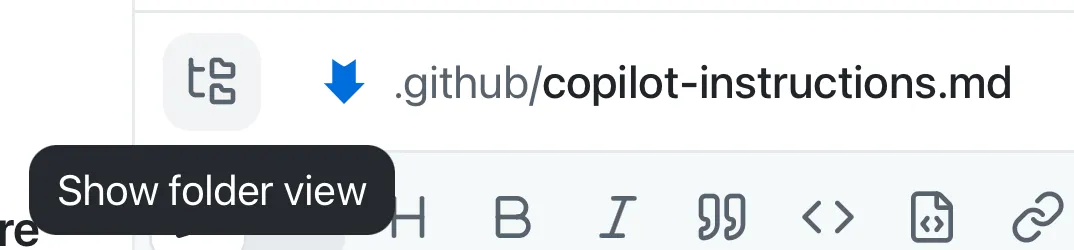
-
Navigate to the
.github/instructionsfolder and explore the files. Note there are instructions for Astro files, the Drizzle data layer, tests, and more. -
Open
.github/instructions/unit-tests.instructions.md. Note theapplyTofield at the top — this sets a glob (relative to the repo root) that determines which files the instructions apply to. Here, any TypeScript test file (for example, one matching**/*.test.ts) will match. -
Note the instructions specific to creating unit tests for this project.
-
Finally, open
.github/instructions/drizzle.instructions.mdand scroll to the bottom. Note the links to other instruction files (likeunit-tests.instructions.md) and existing files in the project. This lets you break larger instruction sets into smaller, reusable files, and point Copilot at examples to follow when generating code. (Paths there are relative to the instruction file rather than the repo root.)
The Code formatting requirements section in copilot-instructions.md documents the project’s coding standards, but it doesn’t yet require in-code documentation. In the next steps, you’ll add rules for TSDoc doc comments and file comment headers.
Start from the instructions issue
In the previous lesson you started a session from a direct prompt. Most work, however, starts with an issue. Let’s create a new session based off an issue filed to update the instructions files, then make the request for the update.
Because instructions files have a large impact on the code generated by Copilot, care should be taken in ensuring they clearly guide Copilot. Having Copilot create a first version, like you’ll do in this lesson is a great approach, followed by a review by you to ensure the updates meet your requirements.
-
Select My work in the sidebar
-
Select the issue titled Update our repository coding standards to open the issue.
-
Select New session in the upper right to start a new session based on the issue.
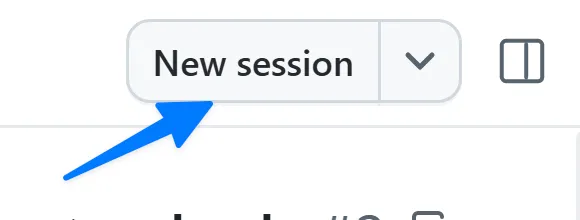
-
Use the following prompt to request Copilot update the instructions files to meet the requirements documented in the issue:
Following this issue, make the updates to the instructions files in this project to meet the requirements documented. Don't create the PR quite yet!Copilot will make the updates!
Review the change
Let’s both read through the updates Copilot made, but also ask it to provide an example of the code it will now generate based on the updated instructions.
-
Select Changes in the upper right to open the code changes.
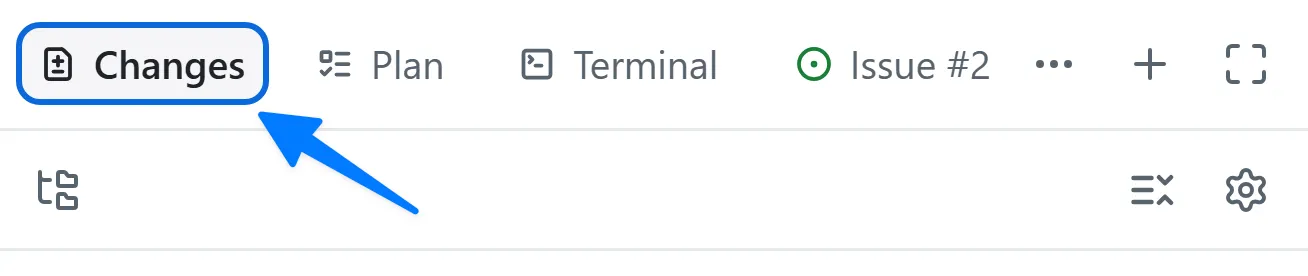
-
Review the updated instructions file. Confirm it has the guidelines about adding documentation and comments to the code.
Because AI is probabilistic rather than deterministic, the exact text will vary.
- Use the following prompt to ask Copilot to create an example of the code it will now generate:
Do not make any updates, but show me what the code would look like. Based on the new instructions, if I asked Copilot to create a new library component to return all Publishers what would that code look like?- Review the code Copilot proposes. Note the TSDoc doc comments and the file header comment it includes — exactly what the updated instructions ask for.
You’ve now updated the instructions files in the project and seen the impact it will have!
Open and merge the pull request
Instructions files become assets in the repository, meaning they’re shared with the rest of the team. Let’s create a PR with our work, just like we would any other asset!
- In the upper right hand corner, select Create PR.
- If prompted, select Sign in with your browser and follow the prompts to authenticate.
- Copilot gets to work on creating the PR.
Once the PR is created, Copilot will monitor any workflows on the repository that need to run. After a few moments, the button in the upper right will change to Ready to merge. This will be your indication your PR is ready to merge!
- Select Ready to merge.
- Select Merge pull request on the new dialog window to merge your pull request!
With the standard merged into your default branch, it becomes part of the project for everyone — and for every new session. When you start the filtering session in the next lesson from an up-to-date default branch, the agent will follow this standard automatically. You’ll see the TypeScript it generates include TSDoc doc comments without being asked — a small but real demonstration of instructions shaping generated code.
Summary and next steps
You explored how the app picks up context from instruction files, then used a session to add and merge a repository-wide standard. Specifically, you:
- explored the repository’s
copilot-instructions.mdand path-scoped*.instructions.mdfiles. - started a session from the instructions issue in your backlog.
- asked the agent to add a documentation standard to
.github/copilot-instructions.md. - reviewed the change and merged it as a pull request.
Next, you’ll build the filtering feature in a fresh session — and watch it pick up the standard you just merged. Continue to Lesson 4 - Building a feature with Autopilot.